Decorating Your Soap Box Car: Unleash Your Creativity!
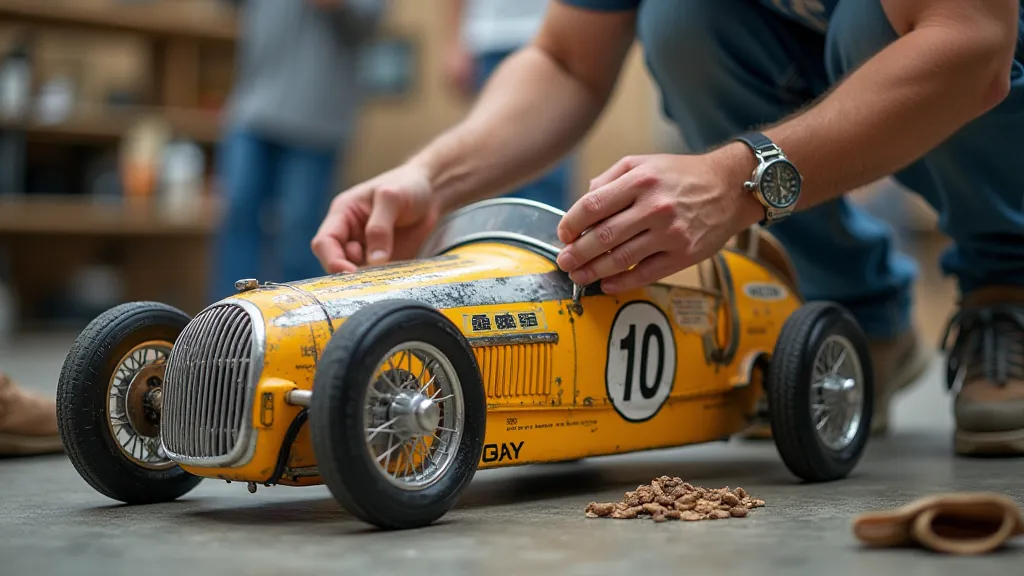
So, you’ve built your soap box car! The framework is solid, the wheels spin true, and the steering is responsive. Now comes the fun part: bringing your creation to life with a fantastic design! Decorating your soap box car is a chance to showcase your personality and make it truly unique. This guide offers tips and ideas to transform your car from a functional machine into a work of art. Before you even pick up a paintbrush, consider that a well-executed design not only looks great, but also contributes to performance. It's about finding the balance between aesthetics and function.
Planning Your Design: More Than Just Looks
Before you even pick up a paintbrush, take some time to plan. Consider these points:
- Theme: Will your car represent a superhero, a favorite animal, a historical figure, or something completely original? A theme provides a strong foundation for your design, helping to guide your color choices and detailing. Think about how the theme resonates with the driver and creates a memorable impression.
- Color Scheme: Choose colors that complement your theme and are visually appealing. Think about contrast – brighter colors can pop against darker backgrounds. Don't be afraid to experiment with unexpected combinations! Consider how the color scheme will look in different lighting conditions – direct sunlight versus shade can dramatically alter how colors appear.
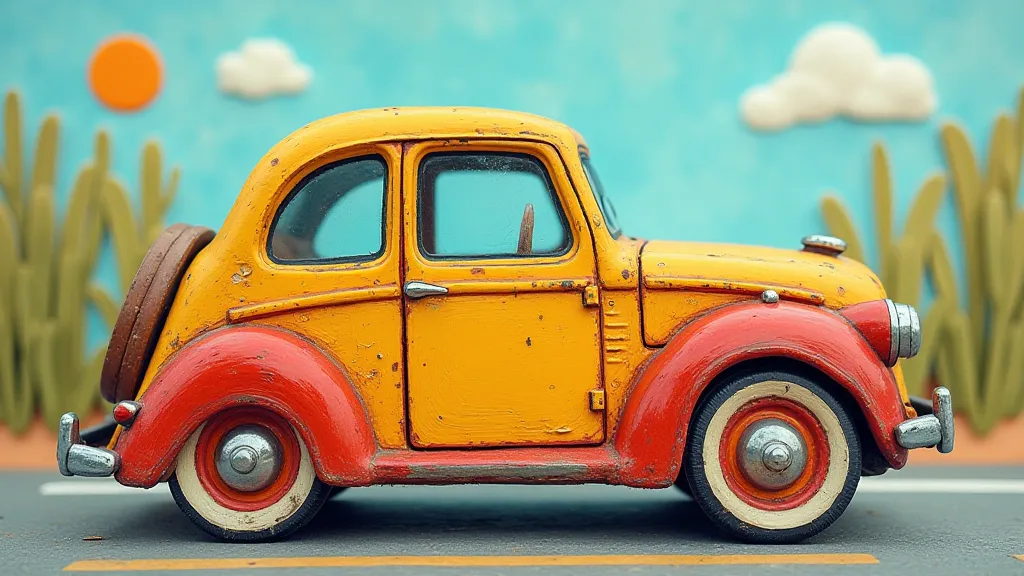
- Simplicity vs. Complexity: While intricate designs can be impressive, simpler designs are often more durable and easier to maintain. Remember, your car will be exposed to the elements and potentially bumps and scrapes. Think about the overall soap box car design ideas – a well-planned aesthetic will really make your car stand out. Sometimes, less is more! A clean, uncluttered design can communicate elegance and speed.
- Regulations: Double-check your local soap box car racing regulations regarding decoration. There may be restrictions on the amount of decorative elements or materials used, especially concerning protruding objects. Ignoring these rules can lead to disqualification, so do your research!
- Aerodynamics and Design Integration: The shape of your car is not just about looks. Aerodynamic principles influence speed and stability. Consider how your design choices might impact airflow. While elaborate designs look great, remember that adding unnecessary bulk can increase drag. Understanding how to balance aesthetics with performance is key to a winning car.
Painting Your Car: The Foundation of Your Design
Painting is the most common way to decorate a soap box car. Here's what you'll need and some application tips:
- Primer: Applying a primer coat is crucial. It creates a smooth surface for the paint to adhere to and helps prevent the wood from absorbing the paint unevenly. Choose a primer specifically designed for wood or metal, depending on your car's construction.
- Paint: Exterior-grade acrylic paint is a good choice. It’s durable, weather-resistant, and comes in a wide range of colors. Consider using spray paint for larger areas for quicker coverage, but be sure to work in a well-ventilated area and follow the manufacturer’s instructions. For a truly long-lasting finish, consider automotive-grade paints, although these often require specialized equipment and techniques.
- Brushes/Rollers/Spray Paint: Choose the tools that work best for your design and skill level. Practice your techniques on scrap wood before applying them to your car.
- Masking Tape: Essential for creating clean lines and shapes. Invest in high-quality masking tape to prevent it from lifting paint during application.
- Multiple Coats: Applying multiple thin coats of paint is better than one thick coat. This prevents drips and ensures better coverage. Allow each coat to dry completely before applying the next.
- Clear Coat (Optional): A final coat of clear coat can provide added protection against UV damage, scratches, and fading. Choose a clear coat that is compatible with your chosen paint.
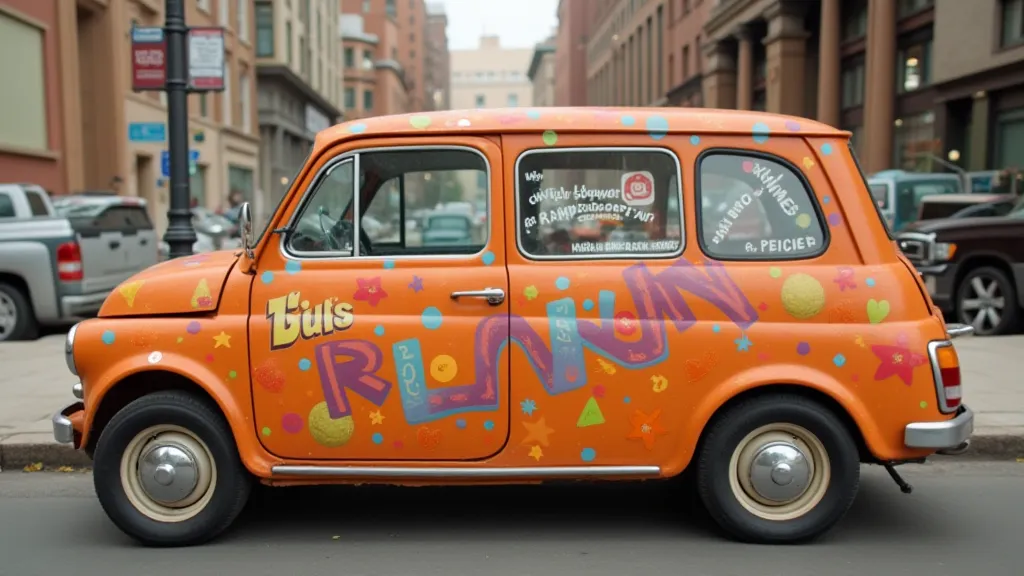
Customization Beyond Paint: Elevating Your Car's Appearance
Painting isn't the only option! Here are some ideas to take your car’s design to the next level:
- Stencils: Use stencils to create intricate patterns or lettering. Stencils can be purchased pre-made or created yourself.
- Decals: Decals are a quick and easy way to add logos, characters, or other graphics. Choose durable, weatherproof decals that won't fade or peel.
- Faux Details: Create the illusion of details like chrome trim or vents using paint techniques or strategically placed materials. Shading and highlighting can create the look of depth and dimension.
- Fabric Accents: Carefully applied fabric can add texture and visual interest. Think flags, banners, or even a custom "driver's seat" cover. *Be mindful of weight and regulations.* Of course, minimizing weight is essential, and understanding soap box car aerodynamics can help you balance design with performance. Heavy fabric additions can drastically hinder speed.
- Creative Lettering: Use custom lettering to display the driver’s name or a fun slogan. Experiment with different fonts and lettering styles to create a unique and personalized touch.
- Lighting (Considerations): While not always allowed, carefully considered lighting can add a striking visual element. Check regulations thoroughly before incorporating any lights.
Material Considerations and Durability: Balancing Looks and Longevity
Beyond the aesthetic appeal, the materials you choose for decoration significantly impact your soap box car's longevity and performance. Consider the following:
- Weight Matters: Every addition to your car contributes to its overall weight. Staying within the competition’s weight limits is critical for maximizing speed and maneuverability. Heavier cars require more force to accelerate and are more susceptible to losing control. A rule of thumb: every pound over the limit dramatically increases race time.
- Weather Resistance: Your car will be exposed to the elements, from scorching sun to pouring rain. Choose materials that can withstand these conditions without fading, cracking, or peeling. Acrylic paints, UV-resistant decals, and durable fabrics are excellent choices. Regularly cleaning and waxing the finish will also extend its lifespan.
- Flexibility and Impact Resistance: Soap box car racing isn’t always smooth sailing. Bumps, scrapes, and accidental collisions are part of the experience. Opt for materials that can absorb impact and resist damage. Rigid materials are more prone to cracking and breaking.
- Adhesion: Proper adhesion is key to keeping your decorations in place. Thoroughly clean and prime the car's surface before applying any materials. Use appropriate adhesives that are compatible with both the car's surface and the decorative elements. Test adhesives on a small, inconspicuous area first.
- Sustainability: Consider using eco-friendly materials whenever possible. This reduces your environmental impact and sets a positive example.
Important Considerations & Safety: Racing Responsibly
- Weight: Remember that every addition to your car adds weight, which can affect its performance. Stay within the competition’s weight limits.
- Protrusions: Any decorations that stick out significantly might be prohibited. Check the rules carefully.
- Durability: Choose materials that can withstand the elements and the wear and tear of racing.
- Safety: Ensure that all decorations are securely attached and won't pose a hazard to the driver or other racers. Regularly inspect decorations for signs of wear and tear.
- Driver Visibility: Ensure decorations don't obstruct the driver's vision.
Getting Started: A Step-by-Step Guide to a Stunning Finish
Here’s a more detailed guide to help you through the decorating process:
- Surface Preparation: Begin by thoroughly cleaning the soap box car's surface. Remove any dirt, grease, or loose debris. Light sanding can help create a better surface for primer adhesion. Use a degreasing cleaner to ensure a perfectly clean surface.
- Priming: Apply a thin, even coat of primer. Allow it to dry completely before proceeding. Multiple thin coats are better than one thick coat.
- Painting: Apply your base coat of paint. Allow it to dry completely before applying subsequent coats. Follow the manufacturer's instructions for drying times.
- Detailing: Add your details, such as stripes, logos, or lettering. Use stencils or masking tape to create clean lines.
- Sealing (Optional): Apply a clear coat to protect your design and add shine.
Remember to allow ample time for each step and to be patient. A well-executed design will not only look great but also contribute to the overall enjoyment of the racing experience. For more design inspiration, take a look at examples of successful soap box car designs – you can often find them online or at racing events. Don't be afraid to experiment and let your creativity shine!
Considering a unique and memorable theme? Browsing through soap box car design ideas can spark inspiration and help you create a truly one-of-a-kind racer.