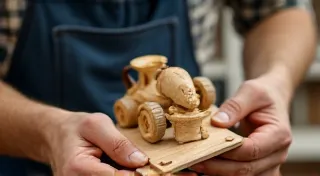
Soap Box Car Frame Construction: Step-by-Step Instructions
Building a soap box car is a fantastic project, and a solid, reliable frame is the foundation for a successful build and a thrilling race. This guide will walk you through the process of constructing a durable frame, covering everything from wood selection to reinforcement techniques. Remember safety first - always wear appropriate safety gear like safety glasses and gloves, and supervise children closely throughout the build process.
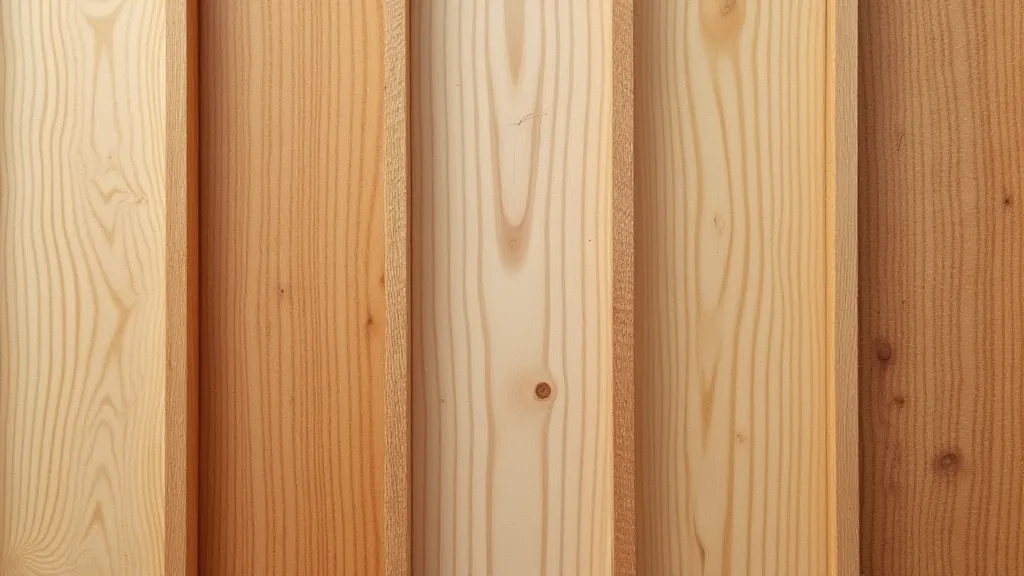
1. Wood Selection: The Right Foundation
The choice of wood significantly impacts the car's strength, weight, and overall performance. Here are a few common choices:
- Pine: Affordable and easy to work with, but can be brittle. Best for beginner builds or for cars intended for recreational use, not serious racing.
- Poplar: A good balance of strength and weight, often a preferred choice. It’s also relatively easy to find and work with.
- Maple: Offers excellent strength and rigidity, but is heavier and can be more challenging to work with. Suitable for more experienced builders and racers prioritizing performance.
Regardless of the wood you choose, make sure it's straight, free of knots and cracks, and properly seasoned. Dimensional lumber like 2x4s and 1x4s are commonly used.
2. Frame Design & Dimensions
Traditional soap box car frames typically consist of a main chassis, front supports, and rear supports. Dimensions vary based on the driver’s size and the overall design, but here are some general guidelines (check your local racing rules for specific requirements!):
- Length: Around 6-8 feet.
- Width: Around 30-36 inches.
- Height: Varies, but generally between 12-18 inches.
Sketch out your design on paper before you start cutting. Careful planning will prevent wasted wood and ensure a symmetrical build.
3. Cutting the Wood
Once you have your design, it's time to cut the wood. Use a saw (circular saw, hand saw, or jigsaw) to cut the pieces according to your measurements. Accuracy is key – double-check your measurements before each cut.
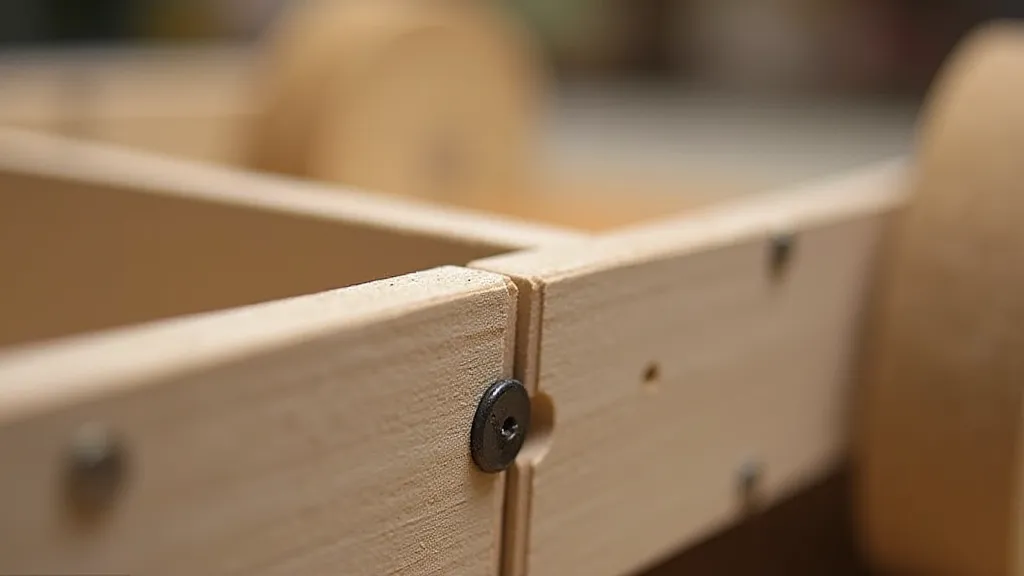
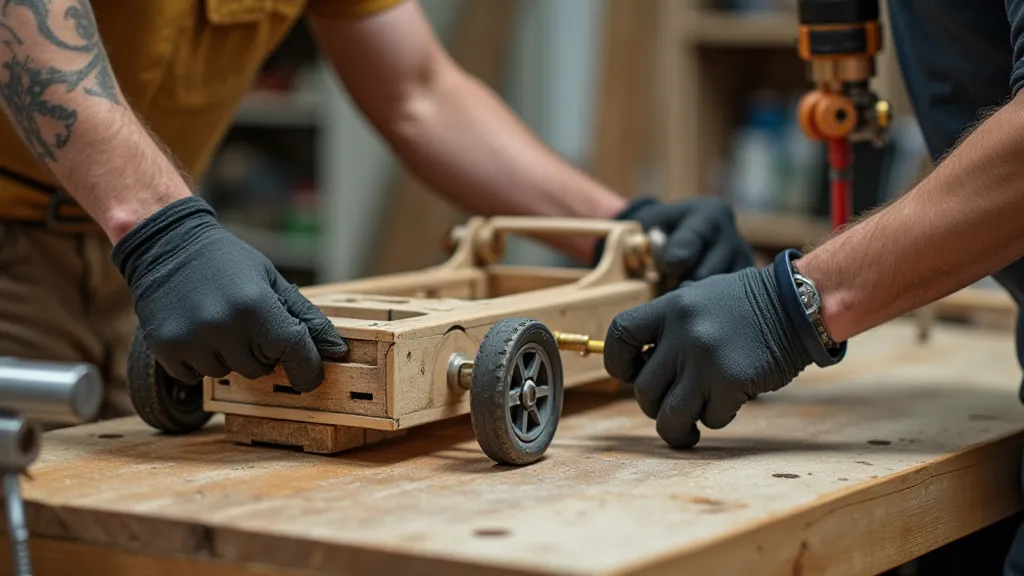
4. Joining the Frame Pieces
This is a critical step that determines the frame’s structural integrity. Strong, secure joints are essential to handle the forces encountered during racing.
- Screws: A reliable option, especially when combined with wood glue. Use exterior-grade screws that are long enough to penetrate the wood securely.
- Wood Glue: Always use wood glue in conjunction with screws. Apply glue liberally to all mating surfaces.
- Bolts and Nuts: Offer a strong and potentially adjustable connection. Ensure the bolts are properly sized and tightened.
Clamp the pieces together while the glue dries. Ensure the frame is square and level throughout the gluing process. Use a square to check alignment.
5. Reinforcement Techniques
Adding reinforcements will enhance the frame's strength and prevent warping or flexing.
- Corner Braces: Metal or wood braces placed in the corners of the frame provide additional support.
- Cross Braces: Adding diagonal braces across the frame's width will resist twisting forces.
- Base Supports: Strengthen the bottom edge of the frame with additional wood pieces to prevent sagging.
6. Final Inspection & Adjustments
Once the frame is assembled and the glue is dry, carefully inspect it for any weak points or misalignments. Make any necessary adjustments. A strong and well-built frame is the first step towards a successful soap box car adventure!
Safety Reminders
- Always wear safety glasses and gloves when working with wood.
- Supervise children closely.
- Double-check all measurements.
- Ensure all connections are strong and secure.